I have a working profile in that Cura, it's based on this profile: https://help.matterhackers.com/article/210-pulse-cura-configuration but I found that importing it as the guide suggests is a bit buggy. I did the following To set it up in cura:
settings>Printer>add printer
Add non-network printer>custom FFF Printer
Copy these settings
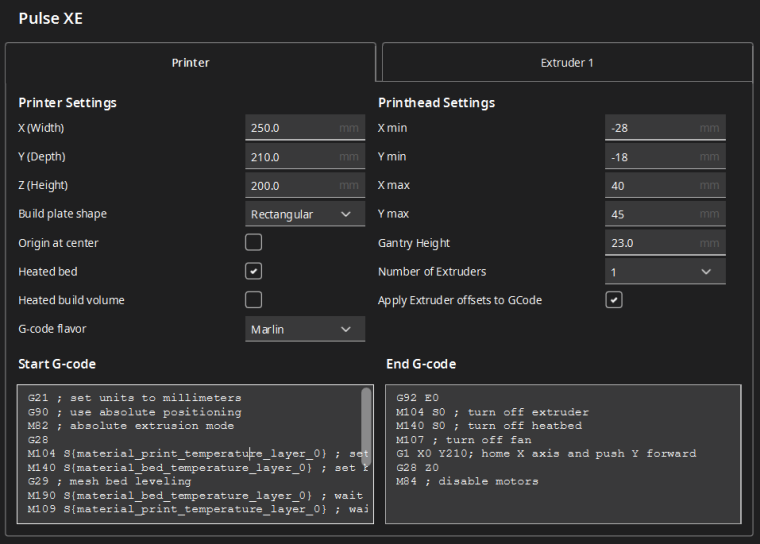
Start G-code:
G21 ; set units to millimeters
G90 ; use absolute positioning
M82 ; absolute extrusion mode
G28
M104 S{material_print_temperature_layer_0} ; set extruder temp
M140 S{material_bed_temperature_layer_0} ; set bed temp
G29 ; mesh bed leveling
M190 S{material_bed_temperature_layer_0} ; wait for bed temp
M109 S{material_print_temperature_layer_0} ; wait for extruder temp
G92 E0
G1 X5 Y5 Z10 F1800
G1 E20 F100
G1 X100 Z0.3 E45 F900
G92 E0
G1 E-2 F2400
End G-code
G92 E0
M104 S0 ; turn off extruder
M140 S0 ; turn off heatbed
M107 ; turn off fan
G1 X0 Y210; home X axis and push Y forward
G28 Z0
M84 ; disable motors
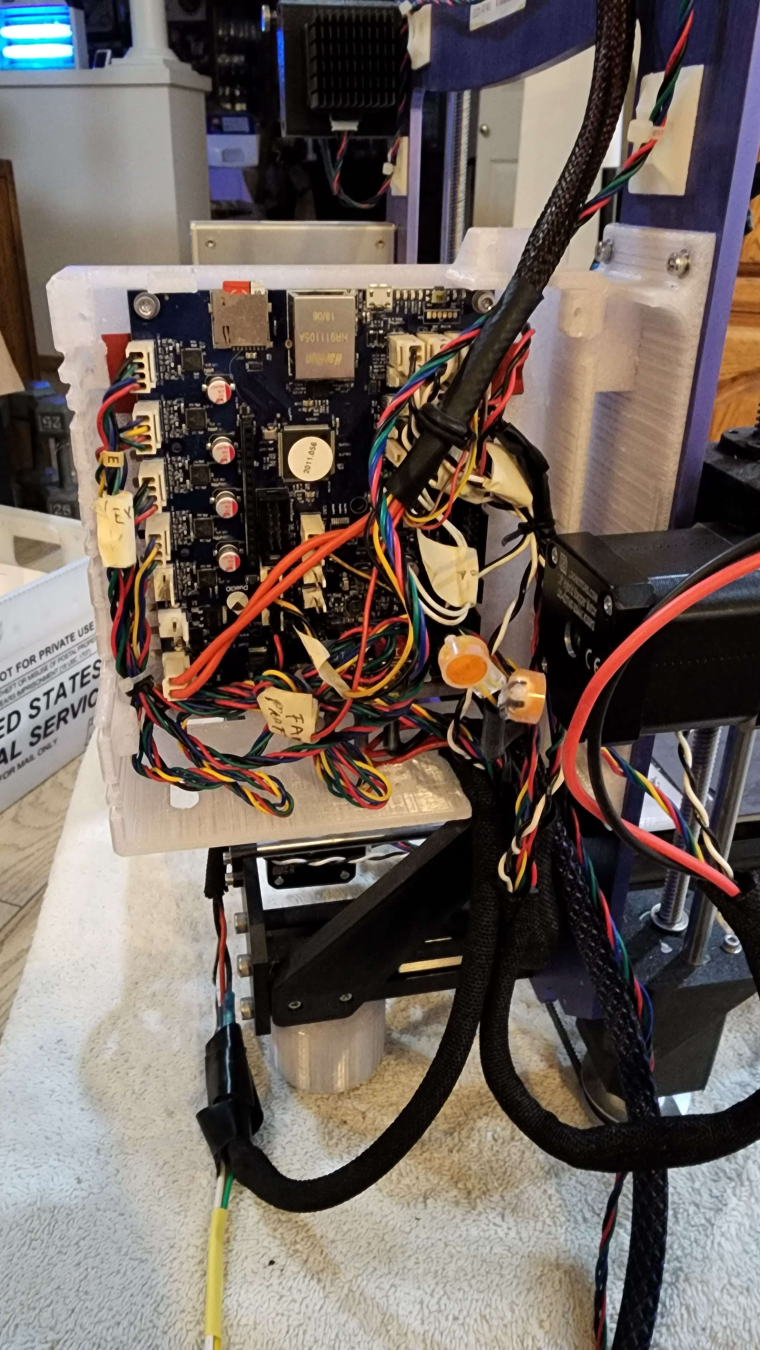
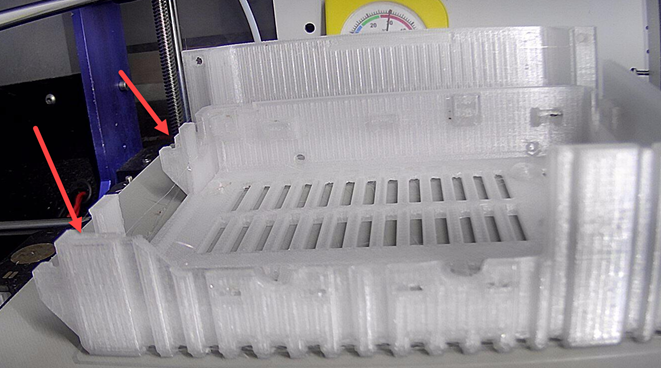
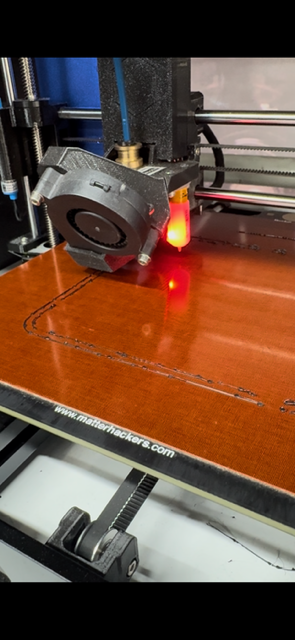 of what I am describing. Some of the troubleshooting I have done so far: